how to build a frame tent
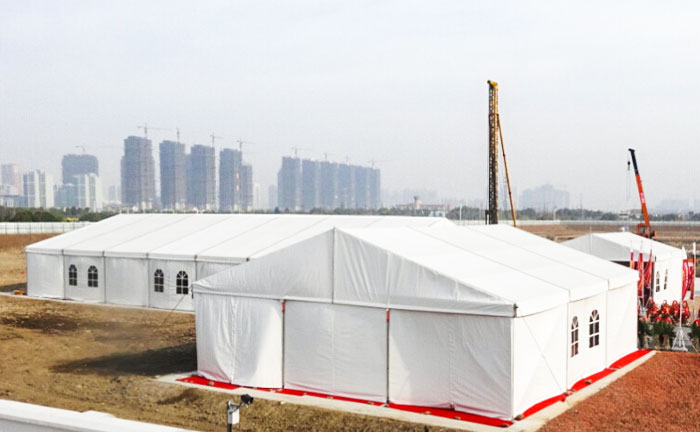
Installing a commercial A-frame tent (often referred to as a clear-span marquee) is a critical process for hosting large-scale outdoor events, exhibitions, or setting up temporary warehouses. Unlike small DIY pole tents that rely on central supports, professional A-frame tents utilize a high-strength aluminum alloy structure, offering 100% usable interior space. Whether you are setting up a 10x20m party marquee or a massive 50m span warehouse, this guide outlines the professional steps to erect an aluminum frame tent safely and efficiently.
1. Gather the Necessary Tools and Materials
Before starting, ensure you have all structural components. A professional aluminum tent kit from a manufacturer like Changyi typically includes:
Frame Components: High-strength extruded aluminum alloy profiles, galvanized steel connectors, and base plates.
Canopy Fabric: Heavy-duty, double-coated PVC fabric (waterproof, UV-resistant, and flame-retardant certified).
Anchoring Systems: Long steel stakes for grass/dirt, or concrete weights for hard surfaces.
Tools: Rubber mallets, scaffolding, ratchet straps, and for larger spans, lifting equipment (like a crane or pulley system).
Tip: Always review the manufacturer’s 3D structural drawings and installation manuals before beginning.
2. Choose and Prepare the Location
Select a flat, level area. For large commercial tents, using a laser level is highly recommended to ensure the base plates sit perfectly even. Measure the space to confirm it matches the tent’s footprint plus an extra 2-3 meters on all sides for safe assembly and staking. Ensure the ground can bear the load and is free from underground hazards like pipes or cables.
3. Assemble the Aluminum Frame Structure
Start by laying out the base plates according to the floor plan. Insert the upright columns and secure them with the designated pins or bolts. Next, assemble the roof beams. For large spans (e.g., 30m to 50m width), the frame sections are often assembled in bays and lifted into place sequentially. Connect the ridge and eave tubes to form the rigid A-frame skeleton.
Safety Note: Always wear hard hats and work with a certified installation team when lifting heavy aluminum profiles.

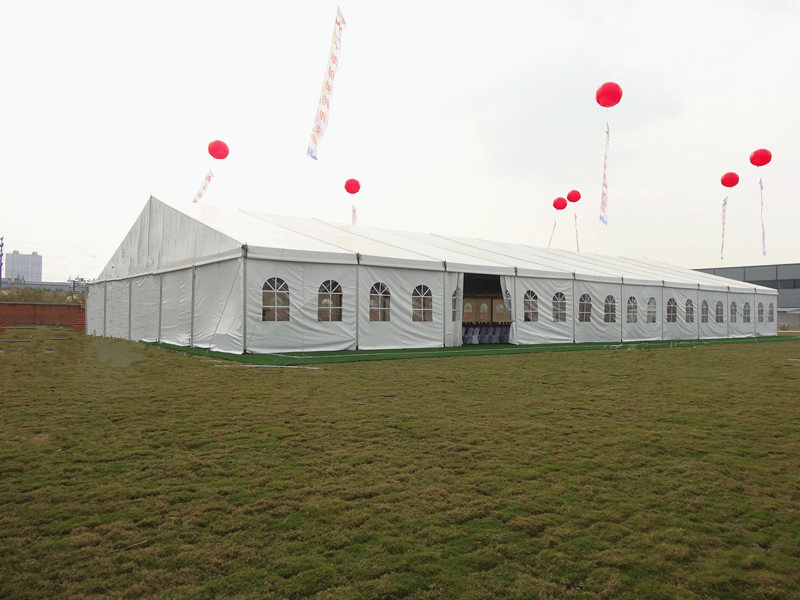
4. Install the PVC Canopy Fabric
Unlike lightweight polyester tarps, commercial PVC roofs are heavy and durable. The fabric usually features a "keder" beading system that slides directly into the grooves of the aluminum roof beams. Use a pulley system or a specialized lifting machine to pull the roof cover evenly over the frame. Ensure the fabric is centered and pull it taut to eliminate wrinkles and prevent water pooling.
5. Secure and Anchor the Tent
Proper anchoring is what allows our tents to withstand wind speeds up to 100 km/h.
Soft Ground (Grass/Dirt): Drive heavy-duty steel stakes through the base plates at a 45-degree angle.
Hard Ground (Concrete/Asphalt): Use expansion bolts drilled into the concrete, or secure the base plates with heavy concrete blocks or water weights.
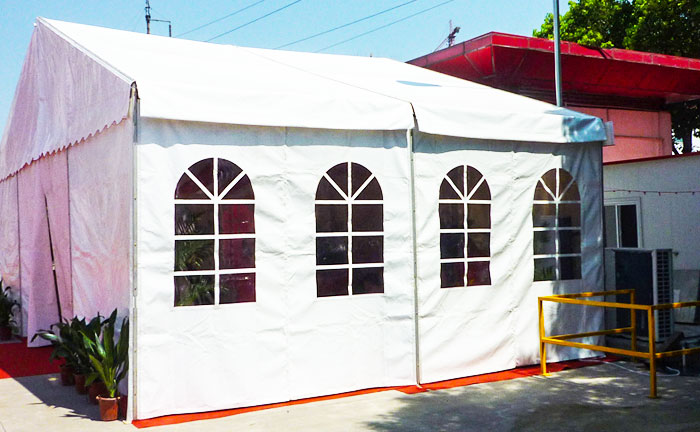
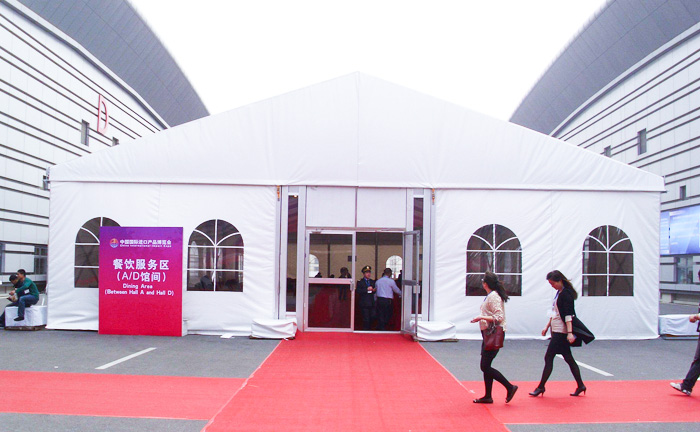
6. Attach Sidewalls and Luxury Accessories
Once the main structure is secure, customize the space. For a wedding reception or VIP event, install transparent glass panels, ABS solid walls, or elegant fabric drapes. Add customized flooring, lighting fixtures, and air conditioning units to transform the raw structure into a premium indoor venue.
7. Final Inspections
Conduct a rigorous walk-through. Check every node connection, ensure the PVC fabric is perfectly tensioned, and verify that all doors and zippers operate smoothly. Test the stability and ensure the site is clean and safe for guests.
Conclusion: Trust the Professionals for Large-Scale Setups
While understanding the installation process is valuable, erecting a large-span aluminum A-frame tent requires engineering knowledge and heavy equipment. At Changyi, we don't just supply top-tier tents; we provide comprehensive after-sales support, including detailed installation videos, structural calculations, and even on-site supervision for global projects.